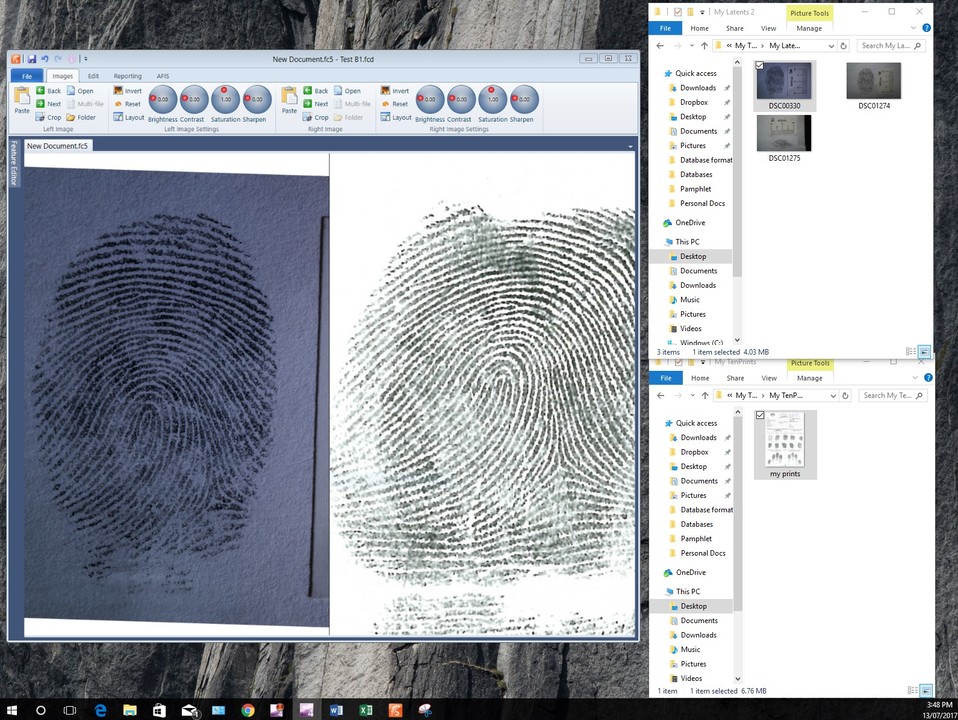
There are many advantages in adopting on screen latent comparison workflows besides the obvious OH&S one. It also gives you must better tools for displaying the fingerprint in the best possible way. With the digital image, you can use powerful enhancing tools to bring out the best in the image. You can also make electronic notes as you go through the comparison process or make a chart when you are finished. In my previous 20 years in Latent case work I have found it's just easier. I could ID prints that I couldn’t before and my eyes, neck and back were much better off.
I have had some inquiries on how the on screen latent comparison would work and I have done a series of videos to demonstrate how in 5 easy steps.
They are:
- Getting the image on the screen
- Enhancing the image
- Marking the features
- Notes on Analysis and Comparison
- Charting
I will be publishing each step over the next five weeks. This weeks starts with “Getting the image on the screen”.
Step 1. Getting the images on the screen.
Loading an image must be quick and easy if your Fingerprint Techs are going to accept the new technology. Obviously, you need to have digital images to load but most agencies are capturing latent prints with digital cameras these days so that’s half the battle won there. If you have lifts a flat bed scanner is a cheap and easy method of converting lifts to an electronic format. There are also camera devices that can be mounted on the desk for easy electronic capture of lifts (contact me for more information on these devices).
I have found the best way to load a digital image is the drag and drop method. This is also the method used in “Paint” and “Photoshop”. Using the mouse to left click on an image and drag into the application is painless and intuitive.
With the Forensic Comparison Software an additional feature to the drag and drop method is the “Next” button that will load subsequent images in a file. An operator can quickly select this “Next” button to quickly sort all the images in the file to select the best one to start the process. This latent is usually the best quality print or possibly the print that has the most evidential value.
Once the image is on the screen you will need to position, orientate, and zoom for the best possible view of the image to be compared. This is also done with the aid of the mouse where the left click of the mouse can move the image within the viewing panel, the right click of the mouse rotates the image for the most appropriate orientation, and the scroll button is used to zoom in and out for the best magnification. The mouse is the key here and in this day and age who isn’t comfortable using a mouse?
The next step is to enhance the image using various tools to present the latent print in the best possible way before the comparison work begins. This will be covered in the next installment.
Contact me at john@forensic-software.com for more information.